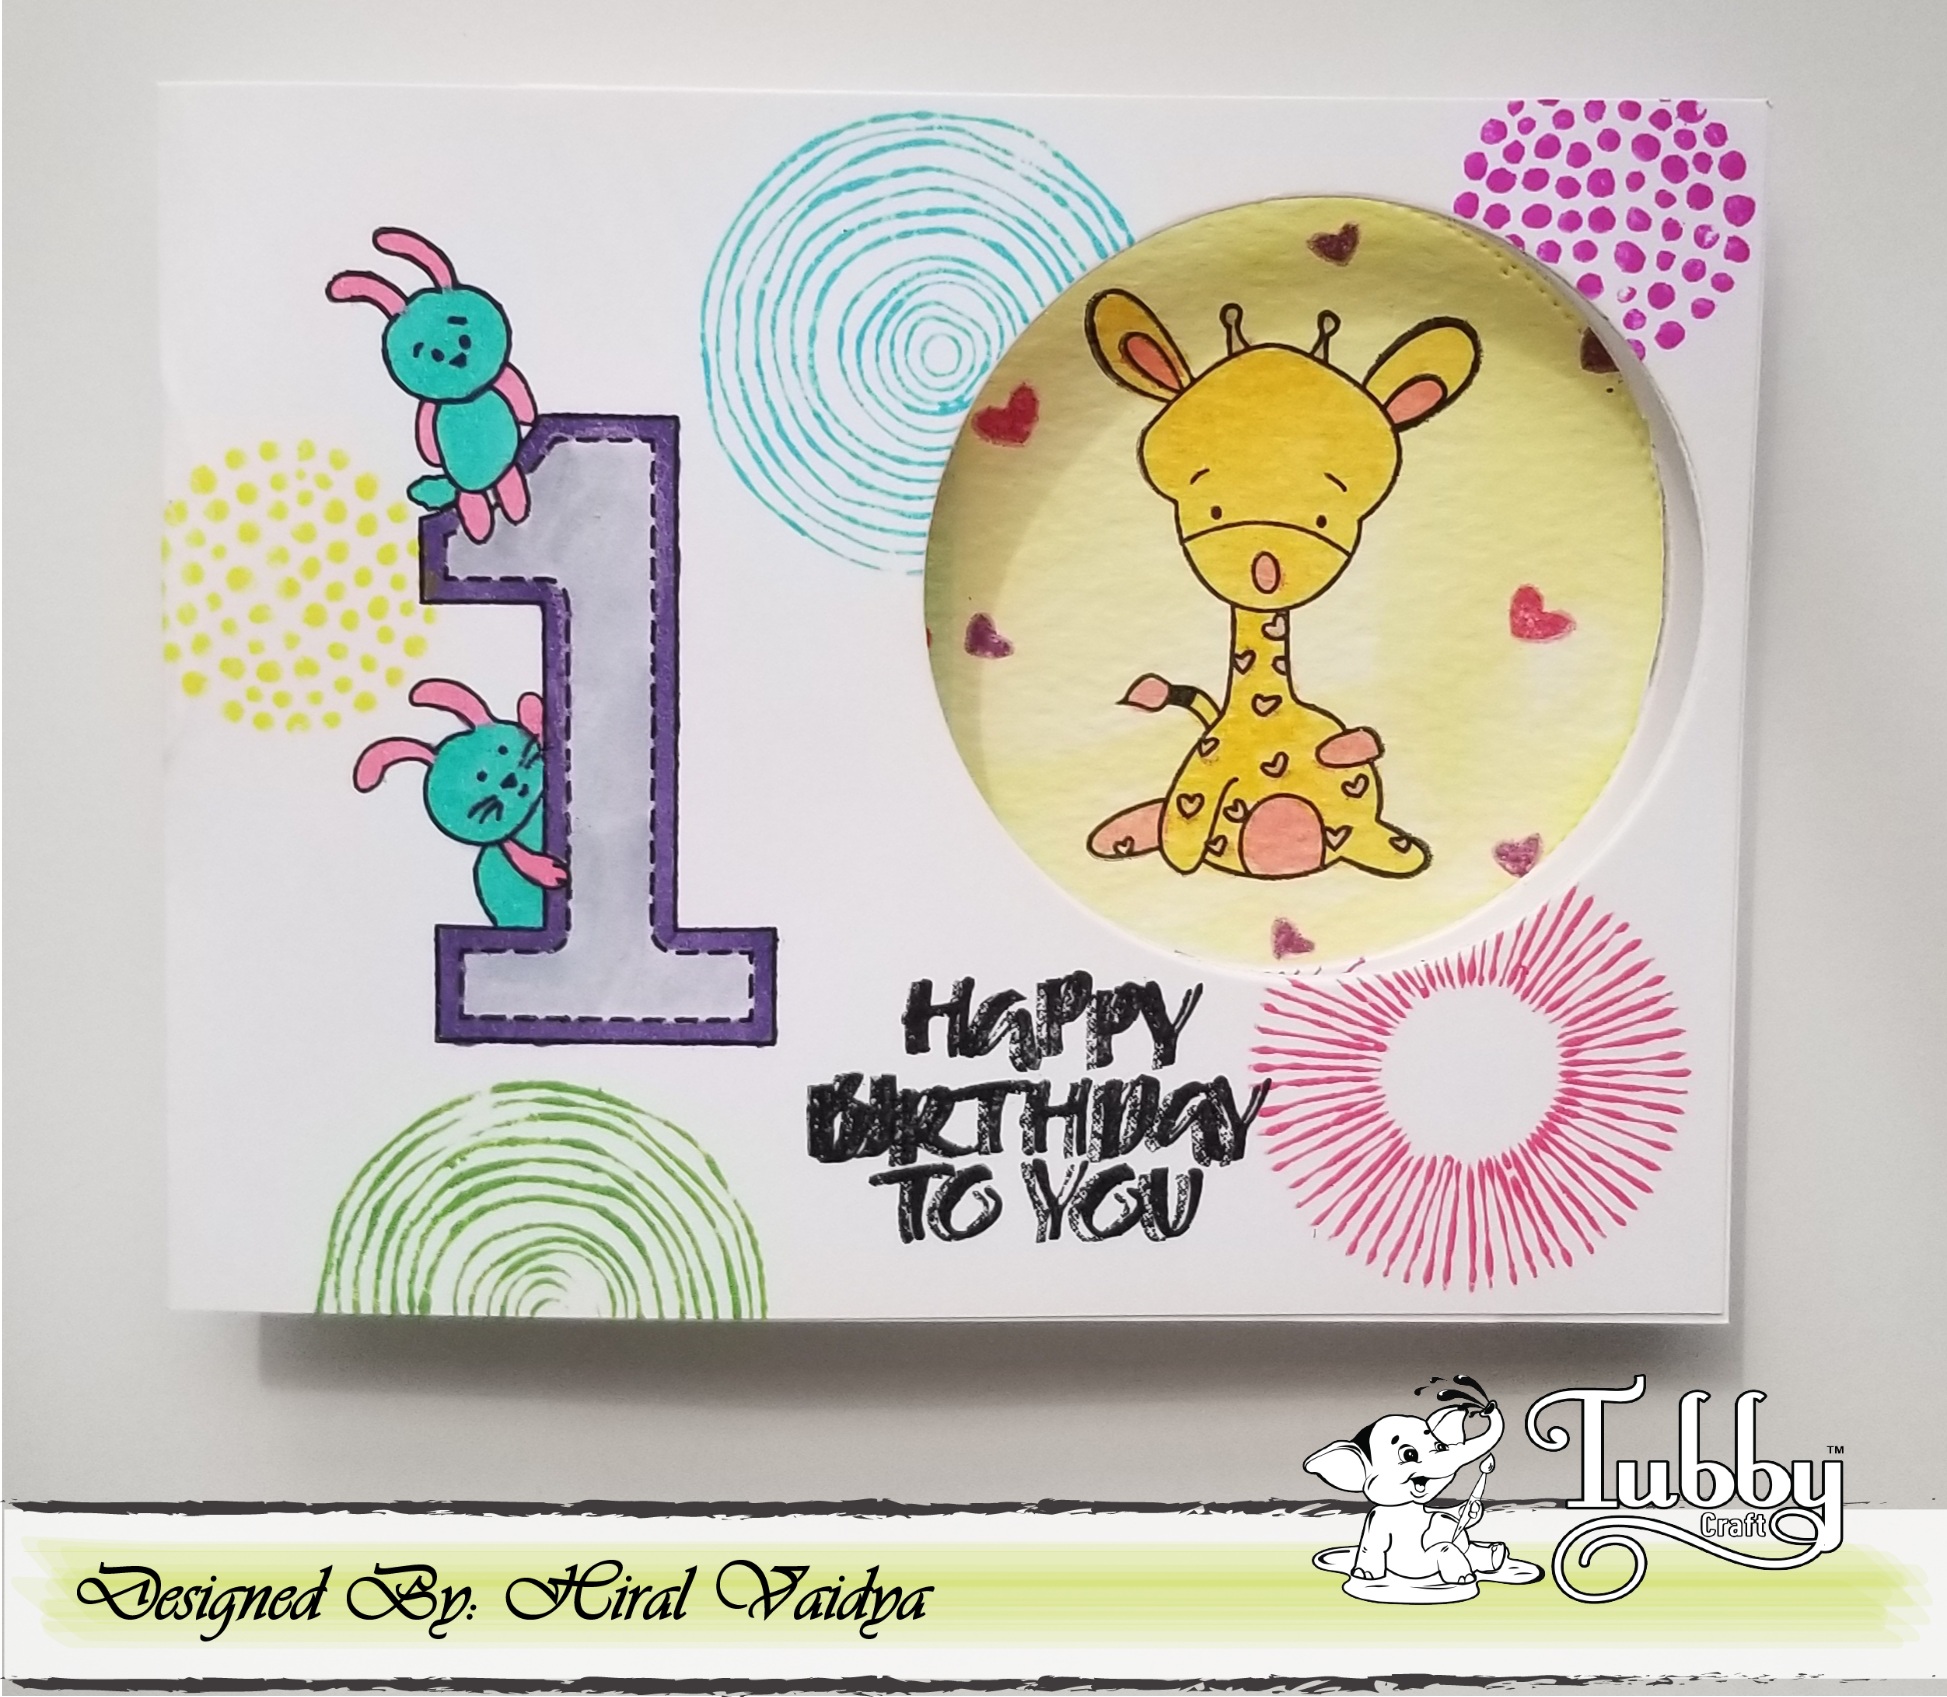
Today is a very special day as I am starting my 1st blog sharing this adorable Peek-a-boo baby card featuring TubbyCraft Stamps and inks. This is my first blog post as a design team member for TubbyCraft and I am excited to share this picture tutorial with you all. I wanted to mention their inks blend very well and very easy to clean the stamps.
I was totally inspired by Jennifer McGuire and created this cute baby card. I started with 3 card panels (Front - 4 1/4 x 8 1/4 , Inside - 4 1/4 x 8 1/2 , Back - 4 1/4 x 5 3/4). Score at Front - 2 3/4 , Inside - 4 1/4 , Back - 5 1/2.
Die cut circle from Front panel as well as inside panel.
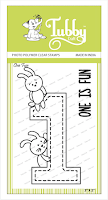
I stamp "One is Fun" stamp and than water coloured it with amazing Tubby craft inks on the front panel.
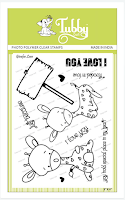
I used Imperial Red, Mustard Yellow, Lemon Yellow, Olive Green, Lawn Green, Lilac Purple, Lavender Violet, Turquoise inks for my card. I also stamped a Giraffe image from "Giraffe love" stamp set and cute little Unicorn from "Unicorn Dreams". I stamped "HappyBirthday" quote twice with bit of imperfection to make it look as a baby card.
For the unicorn, I watercolored the background with rainbow colours and stamped Cute unicorn with Hero Hues Black Dye Ink. I loved the rainbow background so much that I did not over colour the Unicorn again. And it turned out suppeeeer cuuttteeeee.....
This is my first ever picture tutorial and hope I was able to inspire everyone. Please do follow and comment if you like my creations. Happy Crafting !!! :)
Please find all the craft supplies used for this card below:
Hi all, today I am super excited to share that I am a DT member for Papercraft Business . I am sharing these two cute Halloween tags for Oct challenge#23 , theme "Anything goes". I created these 2 tags using @oddballstamps img#65 "cute girl Starlina". I watercoloured the images with my all time favorite zig markers. I popped up some Halloween Boos' and spooky sentiment and used Halloween pattern paper in the background ❤ Love how it turned out. Hope you all like it too 🥰 Happy crafting...!!!💕
Hi all, this is Hiral coming up with another project share for Tubby Craft using new released stencils. For my 1st card, I used starry stencil for the background. Inks used for blending are - Chocolate brown , Tangy orange and Lemon yellow . Also, I always think of stars with Christmas and die-cut some Christmas tree and pasted them onto the card. To make it more merrier, I stamped some X-mas greetings for Christmas look. For my 2nd card, I used " Unicorn Dreams " stamp with same starry stencil for the background and used copics markers to colour this cutie. Popped a glitter heart with a unicorn. For this card, I used - Chinese Blue , Aqua Blue and Lead Grey . Hope you like both of my cards. Happy Crafting!!!... Products used: Please do share some love and comment if you like my cards! Tubby Craft products are available at following online retailers: HNDMD Crafters Emporio Letz C...
Hi everyone, hope you all are doing great. Its me again, Hiral, coming up with 2 new Christmas cards using Tubby Craft new release stencils and Shine On stamp set. I had lot of fun using all Tubby Craft products - Stamps, stencils, inks and ink blocks as well. Christmas is round the corner and I decided to create 2 cute and bright Christmas cards. For my 1st card, I used "Leafy" stencil to create this beautiful background. Used Aqua Blue , Chinese Blue and Lawn green inks for this background. Than I stamped this cute little girl and a Christmas tree from Shine On stamp set and coloured it again with Tubby Craft inks and copic markers. Lastly, I stamped those tiny stars to give it starry look. Hope you all like it! I decided to make my 2nd card more bright. I used "Crack it" stencil for the background and it turned out super adorable. I used Imperial red , Tangy orange and...


Comments
Post a Comment